
Simple Wall Shelves Tutorial

A simple wall shelf tutorial for making shelves of any length to reduce clutter or to add to the overall decor of your home.
The links in this post may be affiliate links. That means that if you click them and make a purchase, this site makes a commission. It will have no impact on the price you pay or the experience of your purchase.
·
I've only said I was going to put shelves up next to these cabinets for the two years I have lived here.
I honestly just hadn’t gotten around to it. But also in my mind, I thought it would take way more time and energy to create these simple shelves than it actually did.
These shelves could be done in a day. Maybe a day and a half if you start later in the day. But not a lot of time is my point here.
The way my life is set up, and doing the project shuffle I’m always seemingly doing, it took me a weekend. But still not too bad.
To make these shelves it only took a few materials as well. And since I was making my window shelf curtain rod combo for this months’ At Home Challenge, I figured it as good a time as any to get it done.
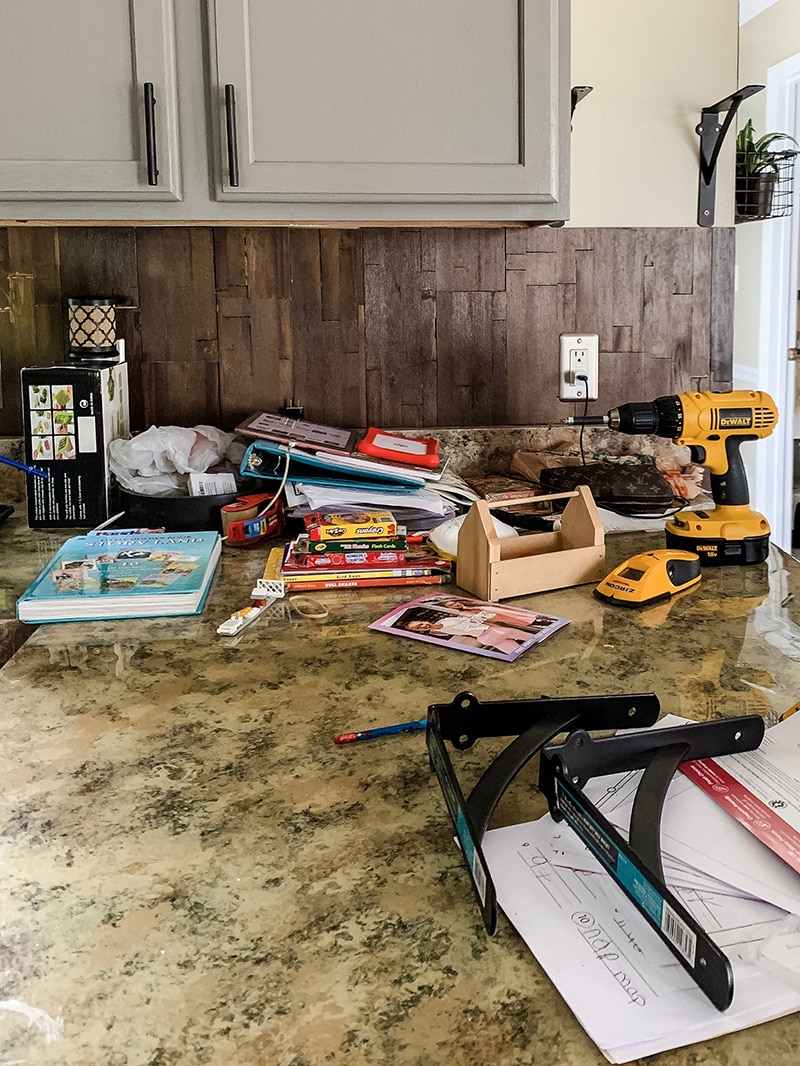
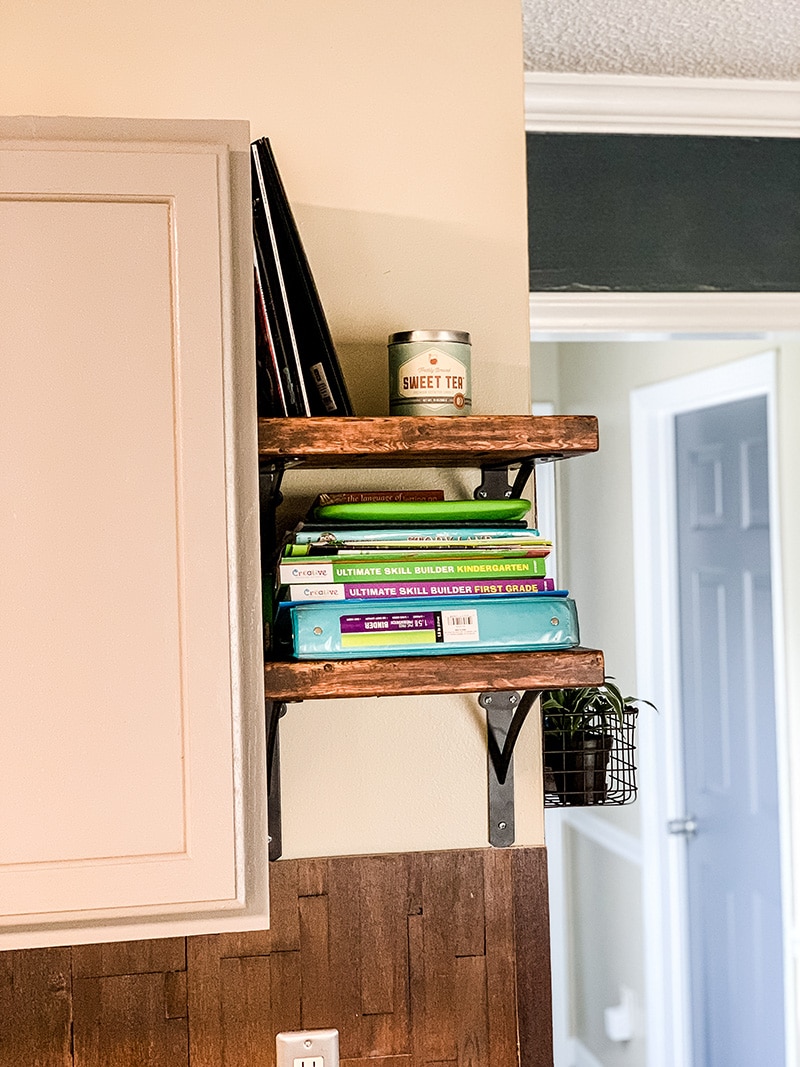
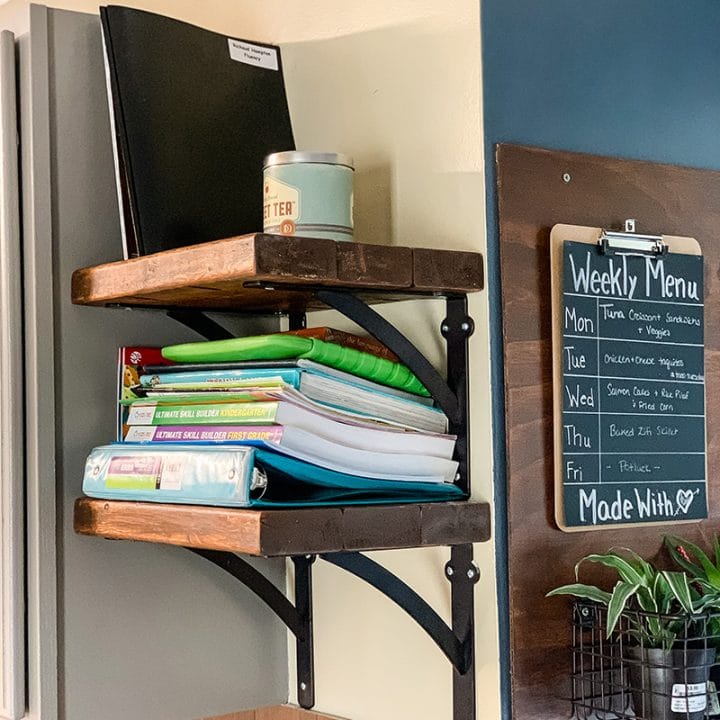
The goal for these shelves is to help all the clutter that accumulates on the counter below them to not exist.
That counter area ends up being the dumping ground for my family. And it drives me insane!
No more!
Materials Needed
- shelf brackets
- 2 x 4’s
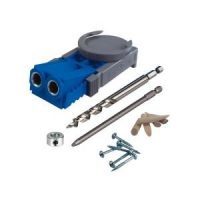
- Kreg jig
- Pocket Screws
- Stain
- Polyurethane
How To Make A Simple Wall Shelf Using 2×4’s
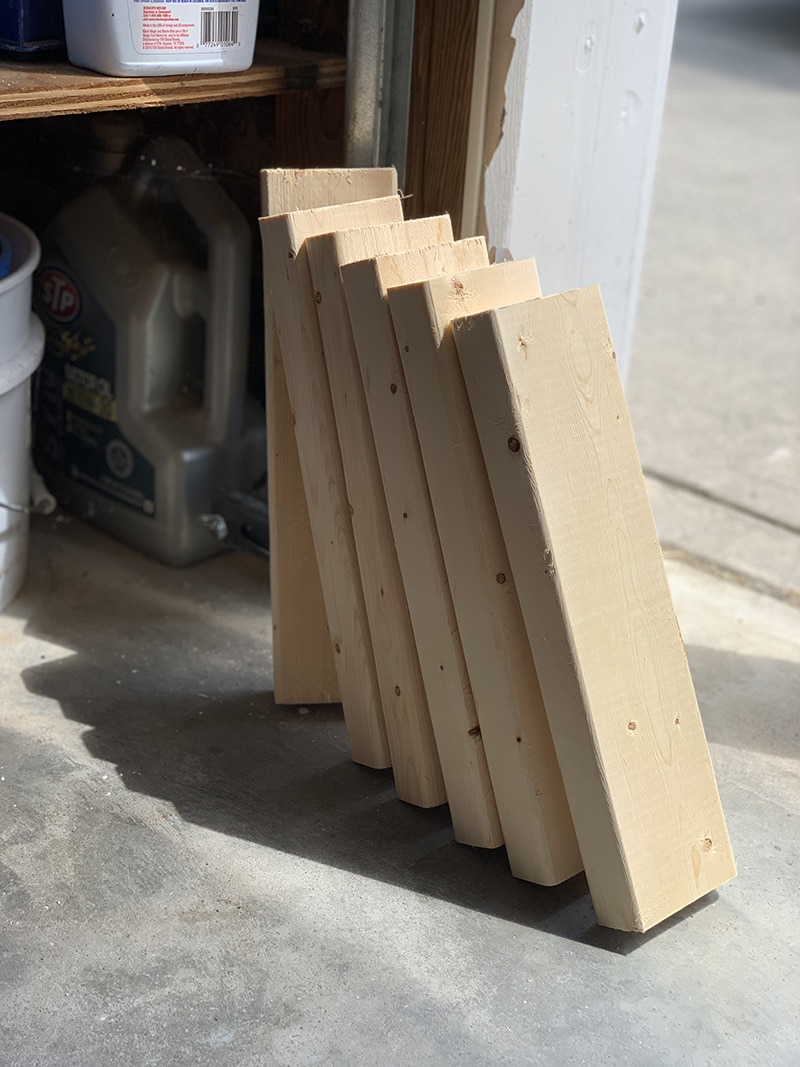
I started by cutting the three 2×4’s to the desired width. For these, I needed them to be 11 inches to fit into the space next to my cabinets.
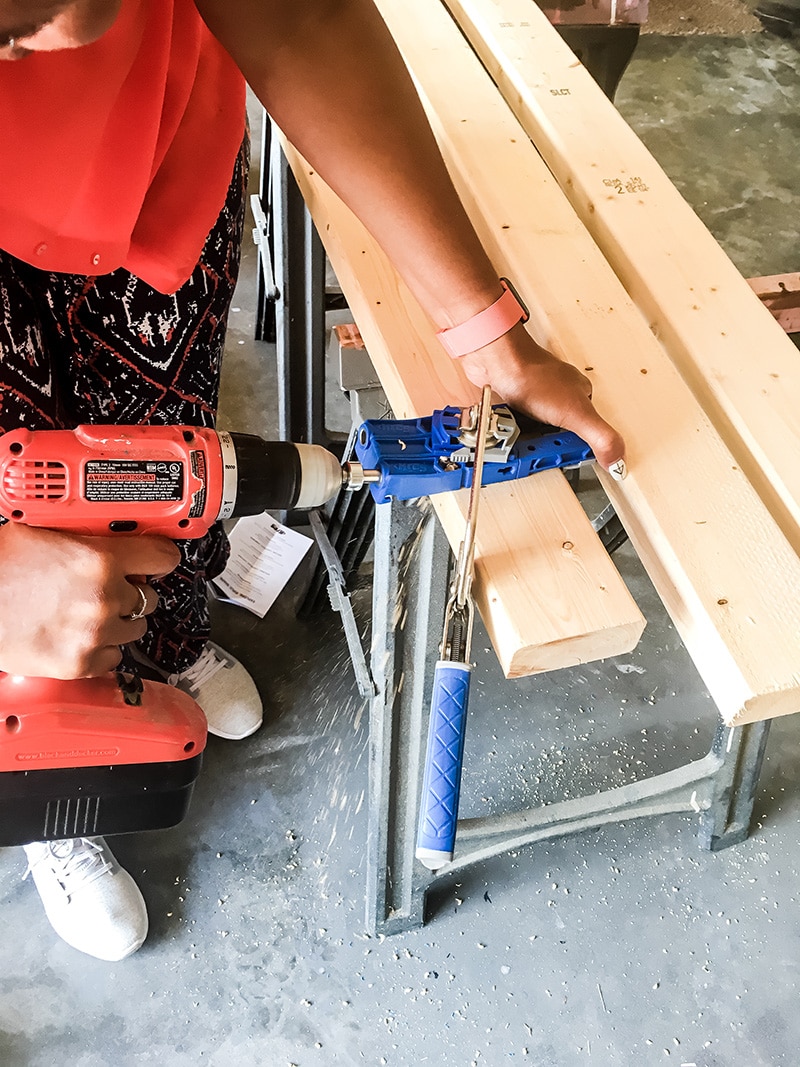
I used the Kreg jig to combine the pieces of wood. By making pocket holes and screwing them together, I was able to make a single shelf. Well, two single shelves.
From there I sanded the shelves down with 180 grit sandpaper first to get rid of any markings and imperfections.
Then, I used 220 grit to finish them and make them nice and smooth.
Once all smooth I wiped the shelves down real good to get rid of the sawdust.
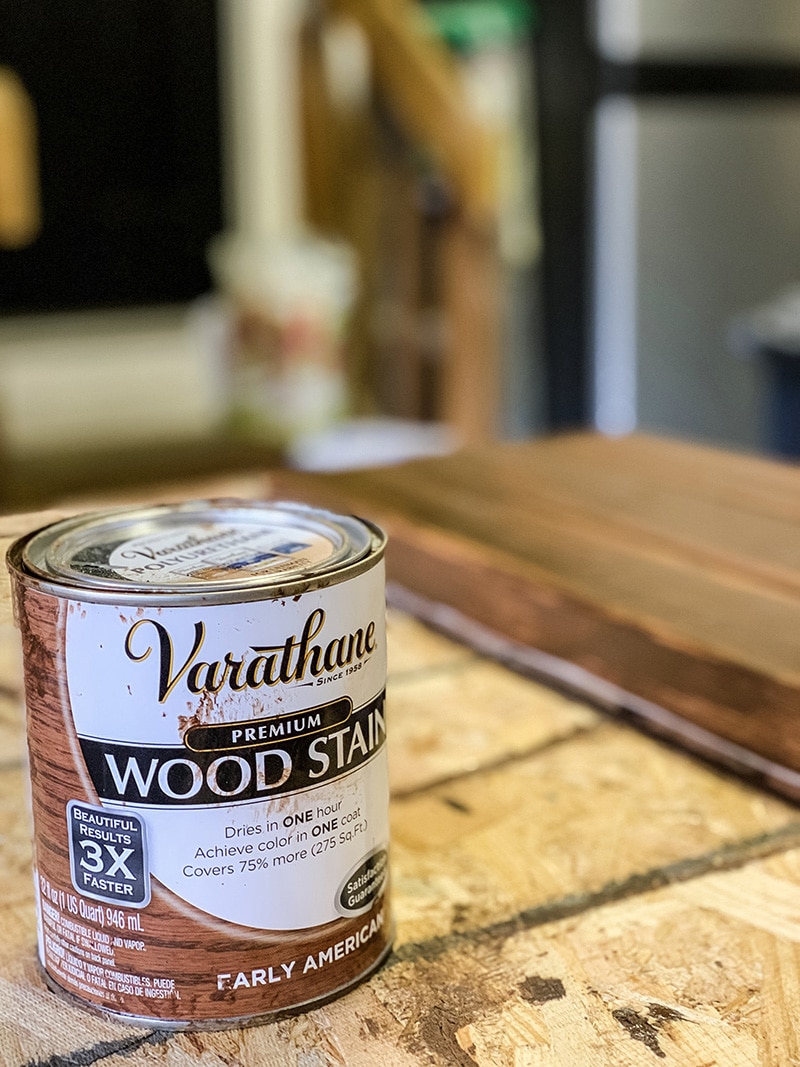
And as with almost all of my wood projects that require stain, I used my favorite stain, Varathanes Early American. I stained it and topped it with some polyurethane, and was ready to install my simple DIY shelves.
Installation of Simple Shelves
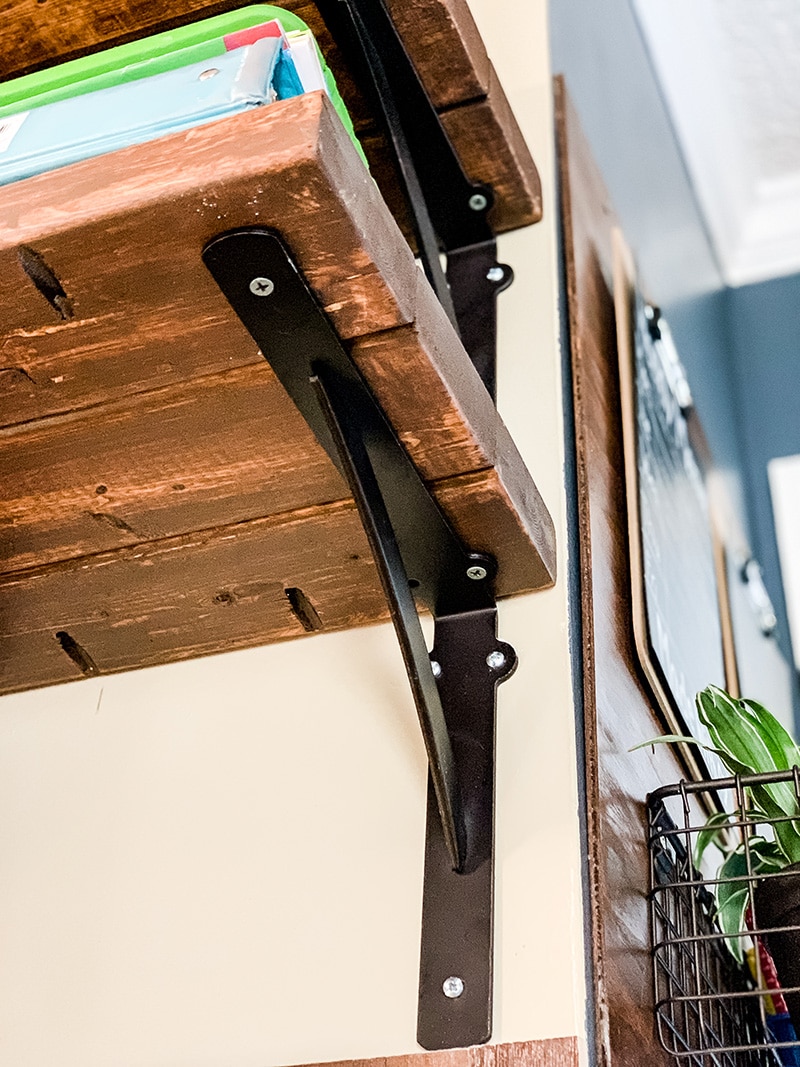
To install my shelves I installed anchors to hang my brackets.
After installing the brackets, I placed the shelves and screwed it into place with screws in each of the holes on the underside of the brackets.
The shelves are nice and sturdy to place all of the things. In my case, they will be used to clear my counter clutter.
How To DIY Wood Simple Shelves
A simple tutorial for creating simple shelves using 2x4's that can be used for any space and for almost anything.
Instructions
Making The Shelf
- Start by cutting the three 2x4’s to the desired width.
- Using the Kreg jig combine the pieces of wood to make a single shelf by creating pocket holes.
- Once your shelves are formed, sand them down with 180 grit sandpaper first.
- Then use 220 grit to finish them and make them nice and smooth.
- Once all smooth I blew it with air from the air compressor and wiped it down real good to get rid of the sawdust. Do whatever works for you to get rid of the sawdust as much as possible.
- Stain shelves with your stain color of choice.
- Top them with a coat or two of polyurethane, or use polyurethane spray and it is ready to install.
Installation of Shelf
- If not hanging directly in a stud I strongly suggest the use of anchors. Install anchors to hang the brackets.
- After installing the brackets, place the shelf and screw it into place with screws under the shelves!
- Enjoy!
Recommended Products
As an Amazon Associate and member of other affiliate programs, I earn a comission from qualifying purchases.
Love this idea! Is there a reason you used 2×4’s opposed to one solid piece? Is there a price difference at the home improvement stores?
I did it for the look more than anything. And also because I wanted the 2-inch shelves without having to go to a lumber yard.
Love the shelves! Early American is my go-to stain, too. Found this on Hometalk and clicked over to see more.
Thank you so much for stopping by! Early American feels so timeless to me. I just love it!