
DIY Indoor Hanging Planter Box
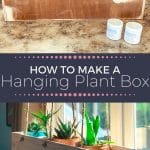


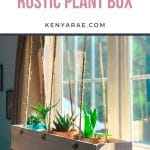
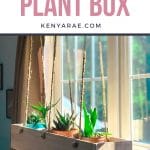
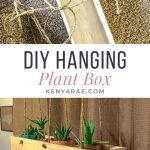
This DIY Indoor Hanging Planter Box is perfect for small succulents and baby plants that you are just starting that need a little extra sunshine.
The links in this post may be affiliate links. That means that if you click them and make a purchase, this site makes a commission. It will have no impact on the price you pay or the experience of your purchase.
It’s not uncommon for me to just come up with projects to do for no reason at all. This DIY planter box is not the exception.
I take that back… there is a reason. I wanted my small plants that lined my window to not be there anymore but still be able to be in front of the light and reap the benefits of being in front of the window.
I ran out of real estate (space) on the bookshelf in front of the window and so my wheels got to turning.
I came up with the idea weeks ago. But it wasn’t until about week 3 or so of quarantine that I got to it.
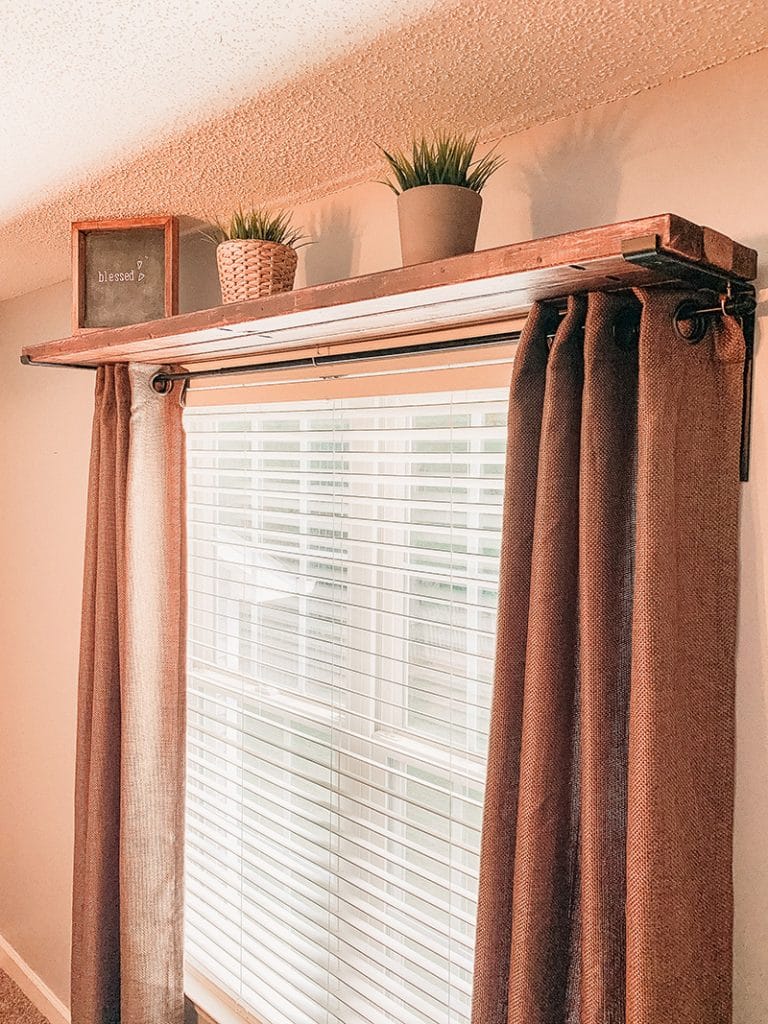
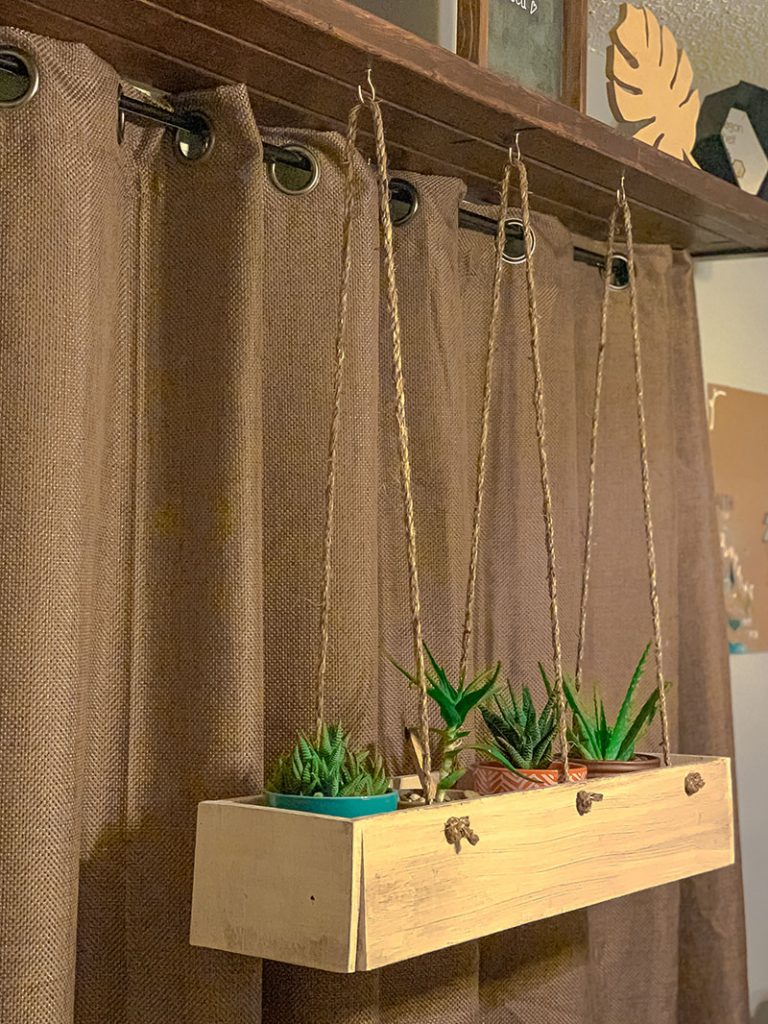
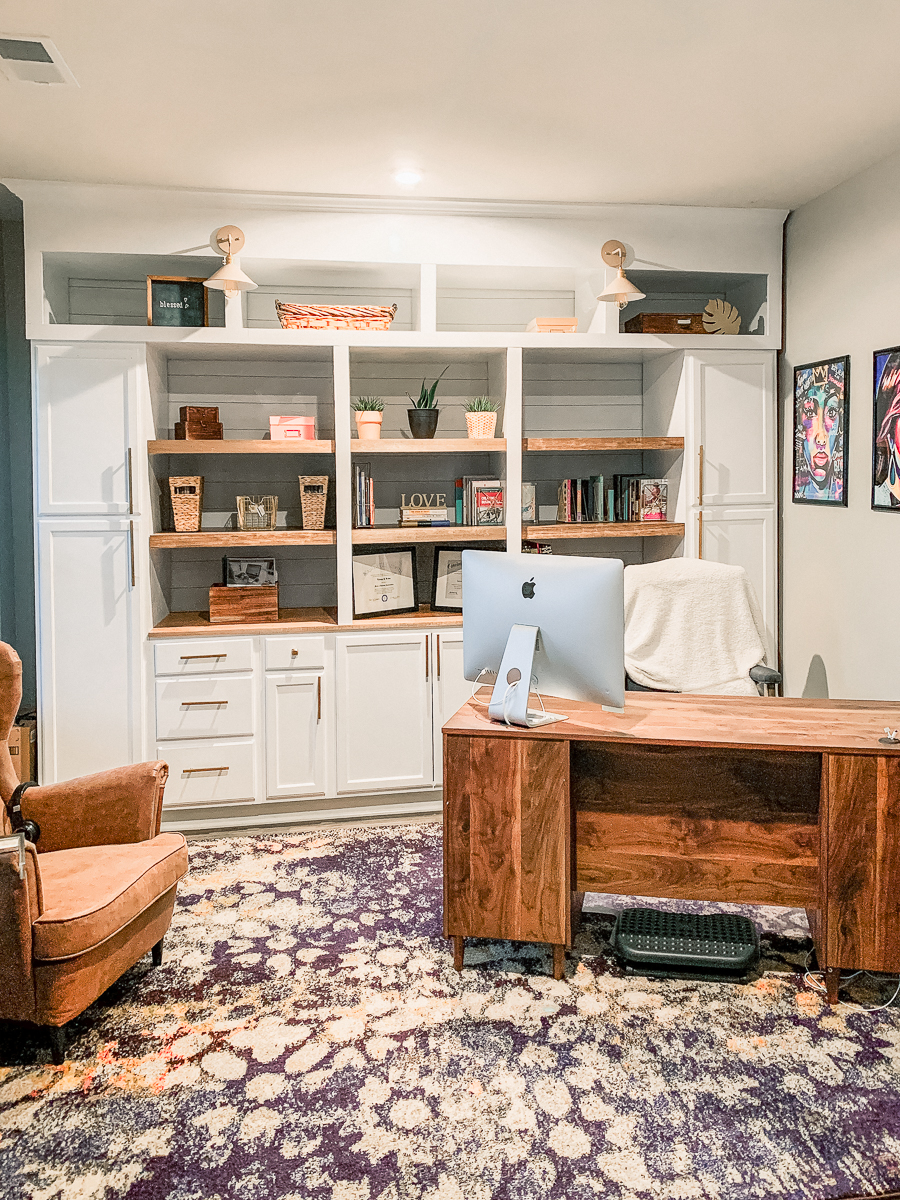
This is design to hang from my Window Curtain Rod Shelf that I made a little while back.
I got the two longer sides from the shelves we cut and hung in the laundry room. I had stained them, before my husband realized he cut them too wide and they would stick out further the an the cabinets.
So I started with those two pieces and I dug around in the wood pile in my garage and made it happen.
It’s not perfect, but it’s perfect.
It’s not perfect, but it’s “perfect”…
This is one of those pieces where the beauty is in the imperfection of it.
Because this planter box was made from scraps, there is no exact plan for this. I am sharing materials and general info to inspire you on your own. This is not one of those projects that you can copy step-by-step.
But let your creativity be inspired here my friend.
Materials Used For The DIY Planter Box
- Wood – pine or even plywood will do
- Saw – I used my Dremel SawMax
- Nail Gun
- Wood Stain
- Chalk Paint
- Polyurethane
- Glue gun
- Glue sticks
- Screwing hooks
How I Did I Make The Planter Box
Assembly
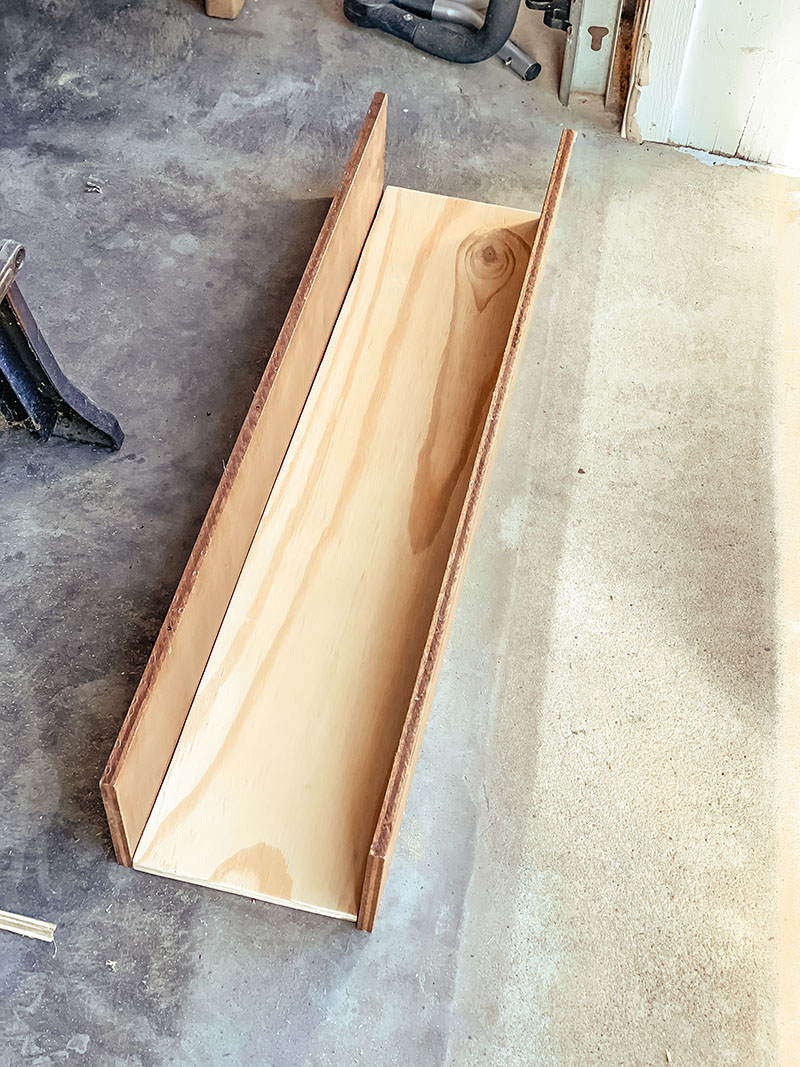
I started out with the two pieces from the extra we cut from the laundry shelves, and then the scrap wood I had in my garage to see what I was working with. I knew what I wanted my length and width to be so I had to piece together what I had.
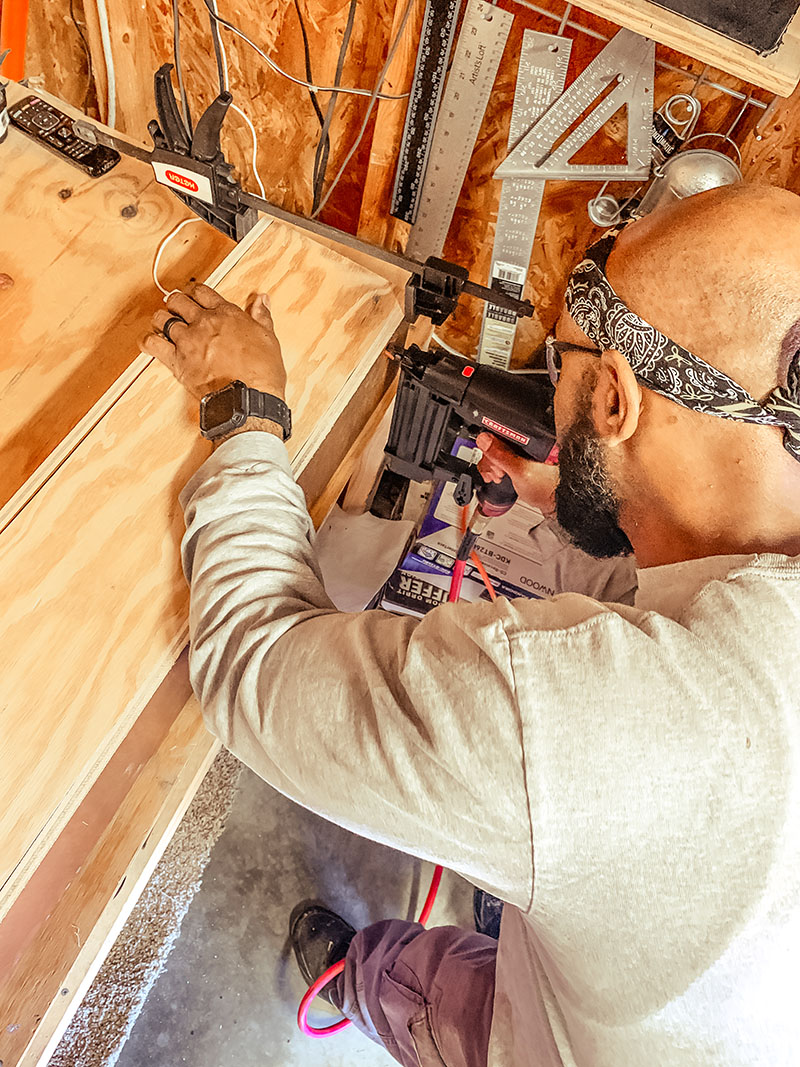
Once I cut all my pieces, I had to put them together. I did that using the nail gun.
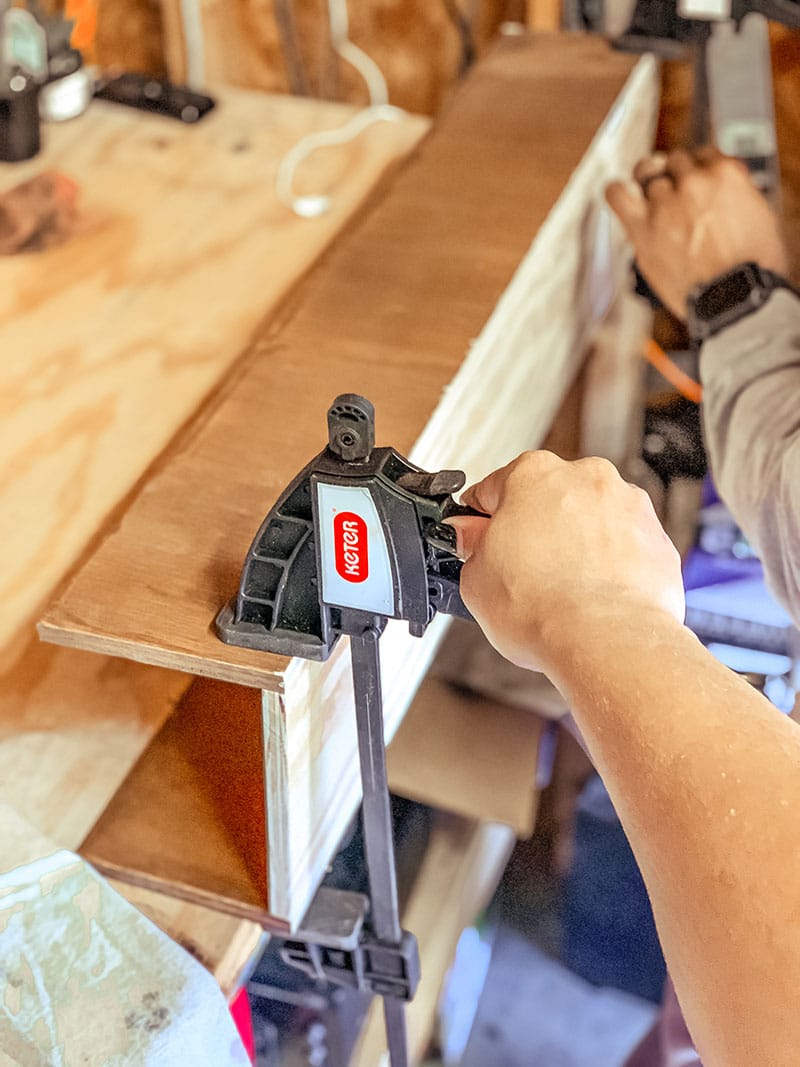
I clamped the side pieces of planter box together and baby cakes nailed them together using the nail gun. #teamwork
Because the wood is thin, some parts that we didn't angle perfectly caused the nails to go through it. I wasn't mad, I just clipped the ends of the nails.
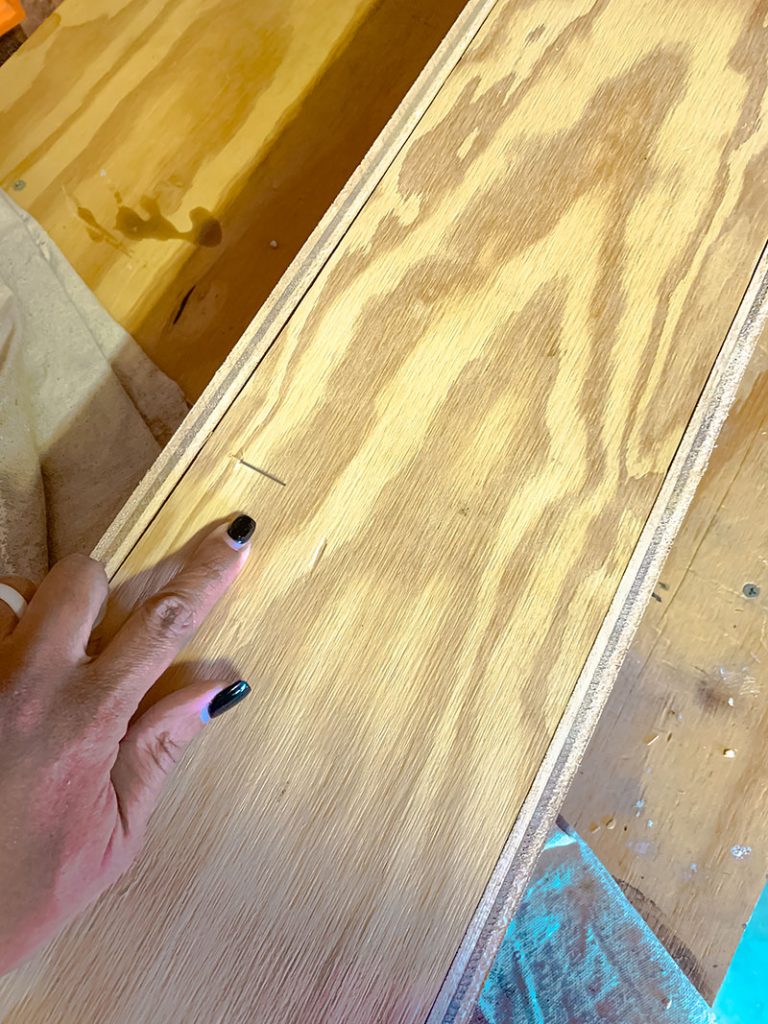
the nail coming through on the bottom 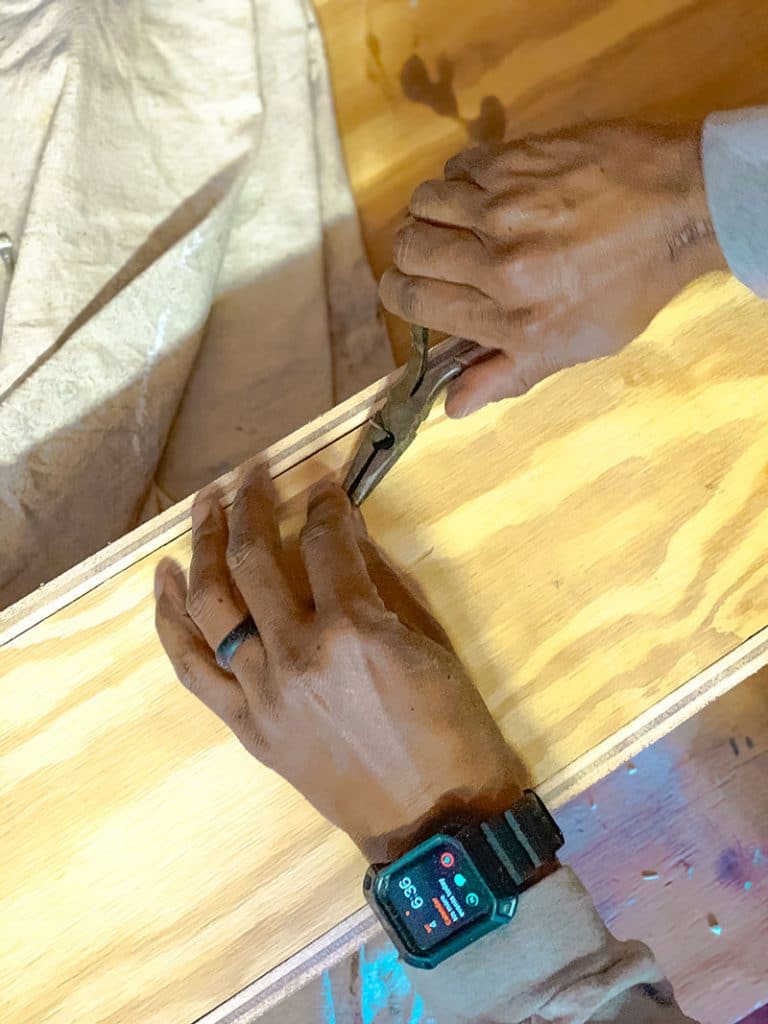
clipping the nail using the snippers
I went over it really lightly with sandpaper to smooth things out.
Painting + Staining
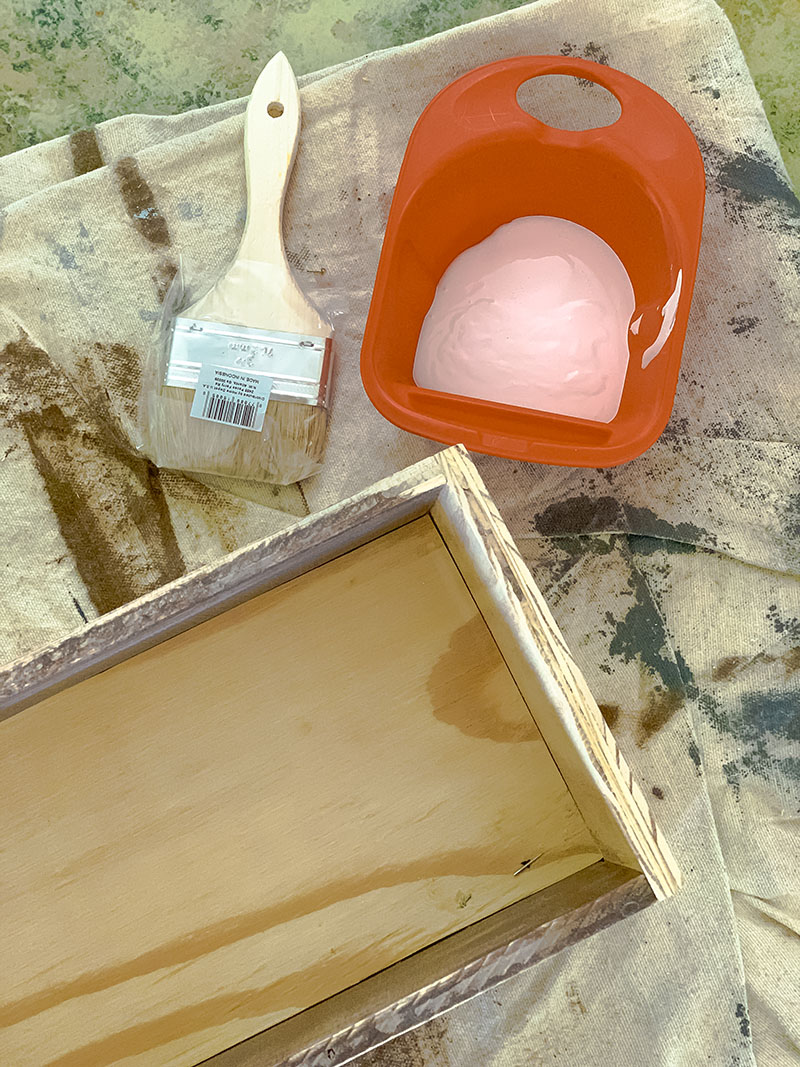
My plan was originally to stain it, but I thought paint would hide the imperfections. But I didn't want it to just be white, so that is where the stain came back in.
I used some Deco Art Americana Chalk Paint in white, I had on hand. And I let that dry.
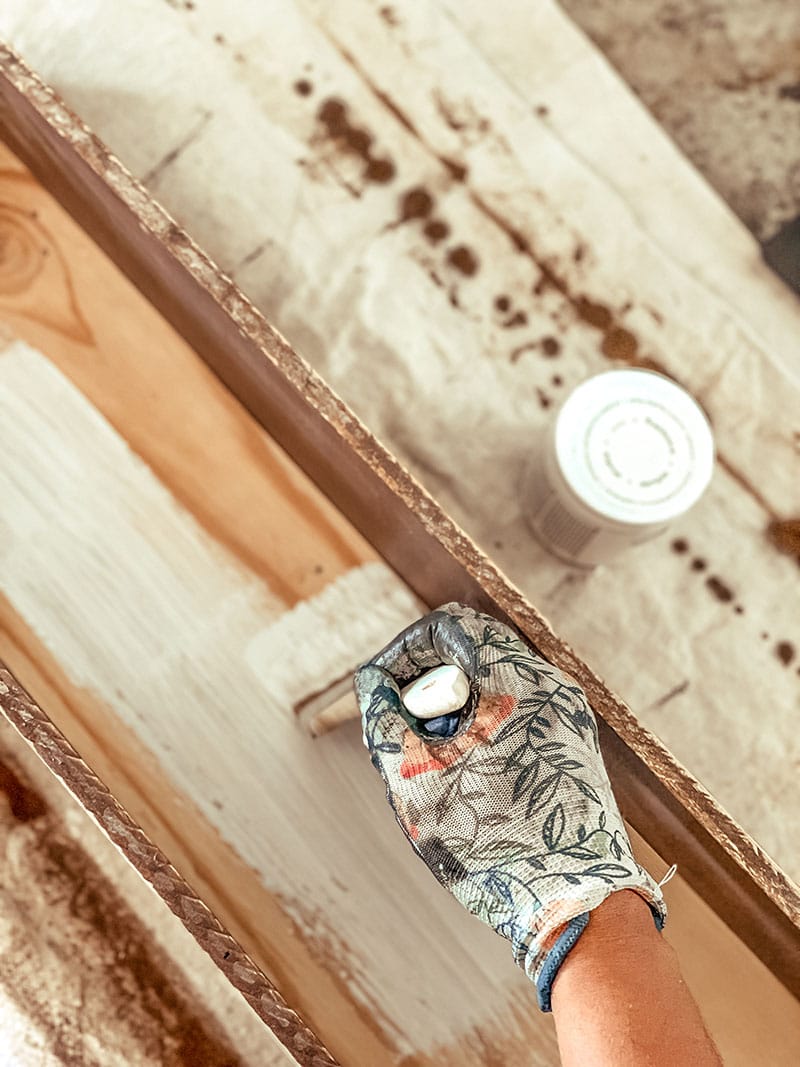
I went over the white paint with the stain and had to let it dry (absorb) into the paint for a day or two. Then I topped it with some poly spray paint.
To reinforce things, I later lined the inside creases with the glue gun.
I had some rope left from the DIY Planter I did a while back, so I wanted to use that to hang it from hooks on the window curtain rod bookshelf in my office I made a while back.
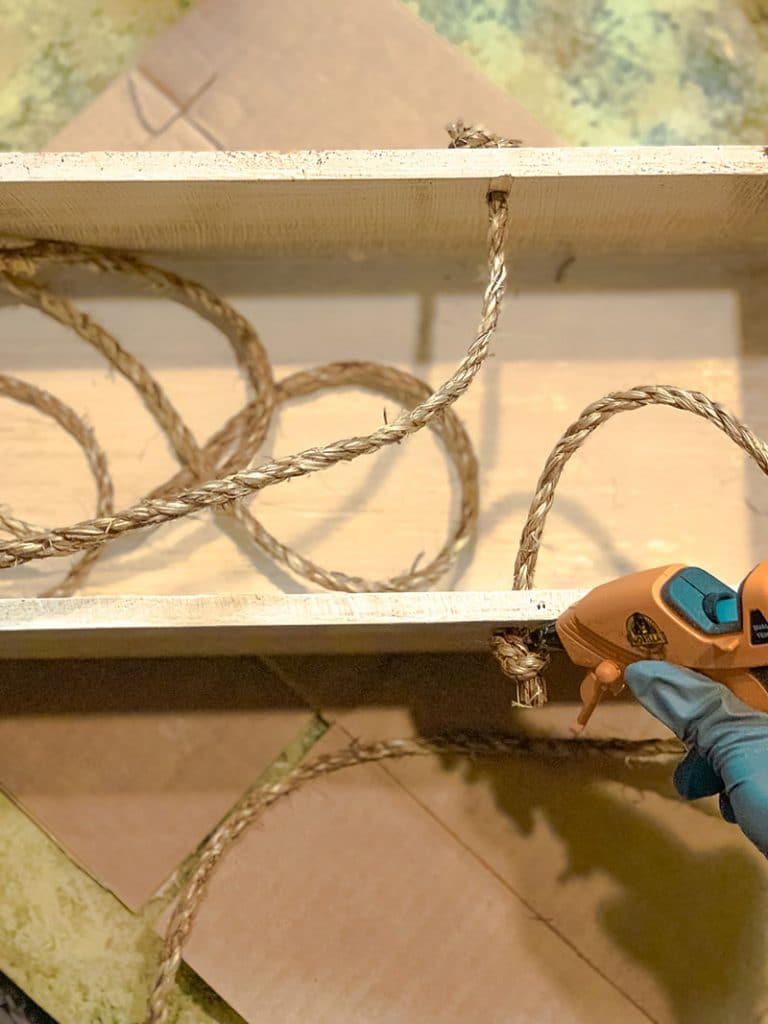
Adding The Rope
I had mentioned to the old man what I wanted to do for the holes. And I went and cooked dinner and came back and it was done.
One of the many reasons I love him!
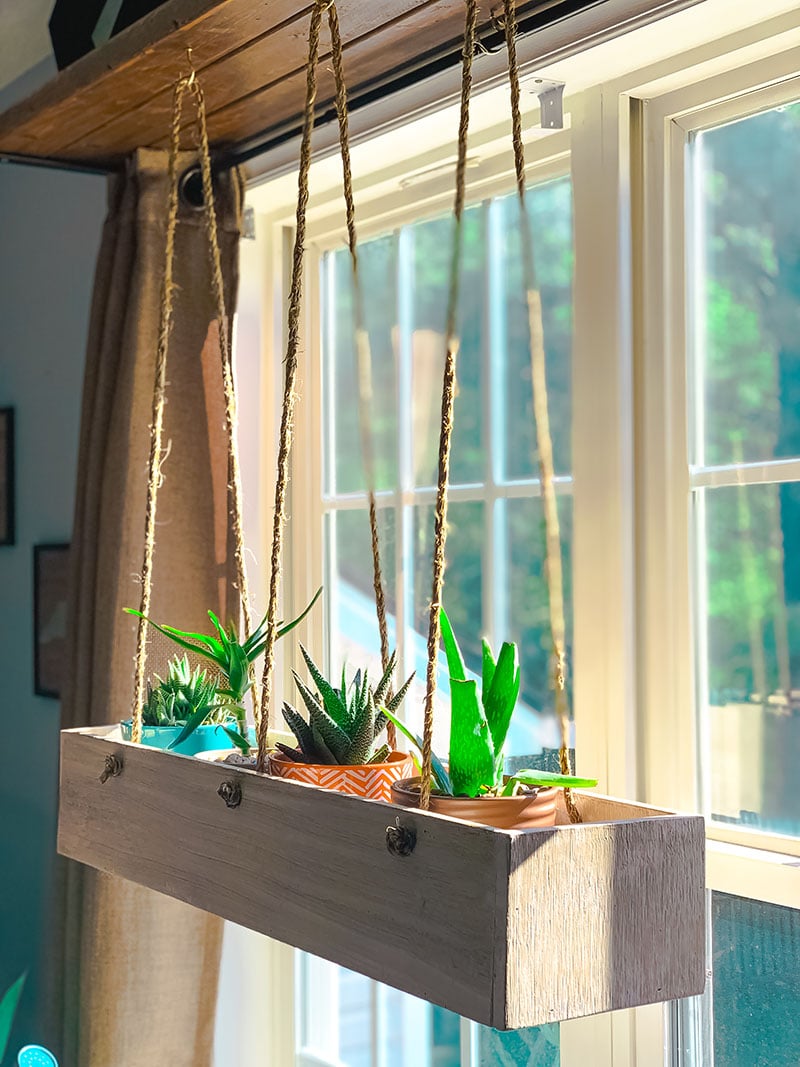
I cut three even pieces of rope and brought them through the holes on each side of the box and tied knots.
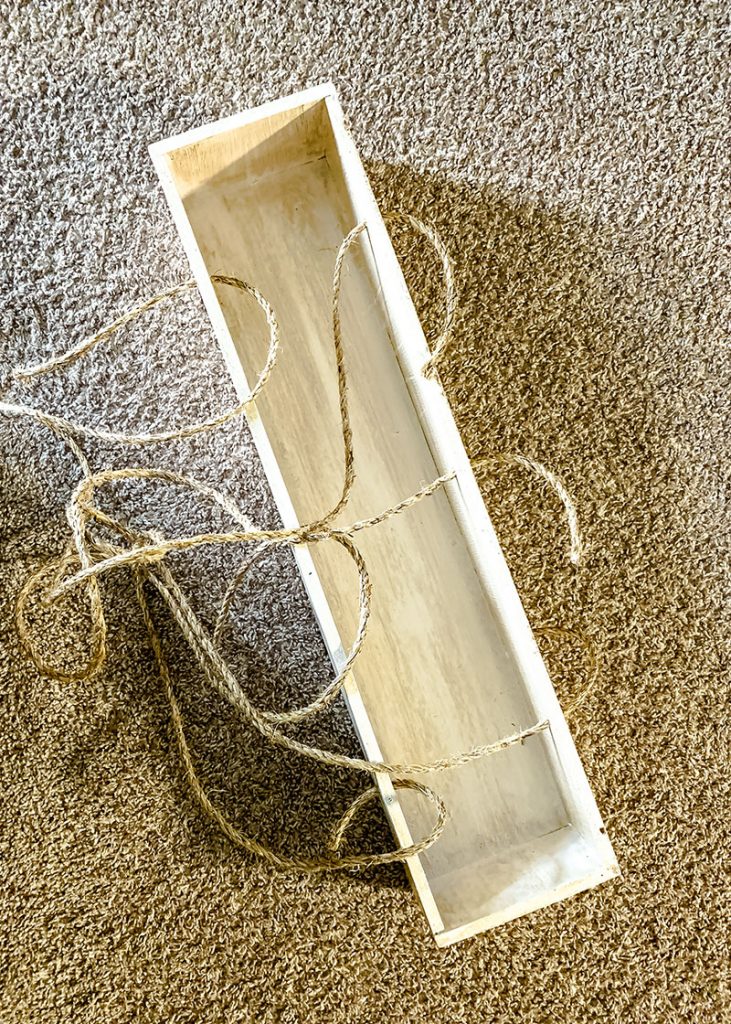
After adjusting them to make sure they were even, I glued the knots to the side of the box to hold them in place and to keep them from unraveling.
I used self screwing hooks (the same ones I used for the curtain rod) and the rope hangs from that.
It is perfect right in from on my window and I just love it!
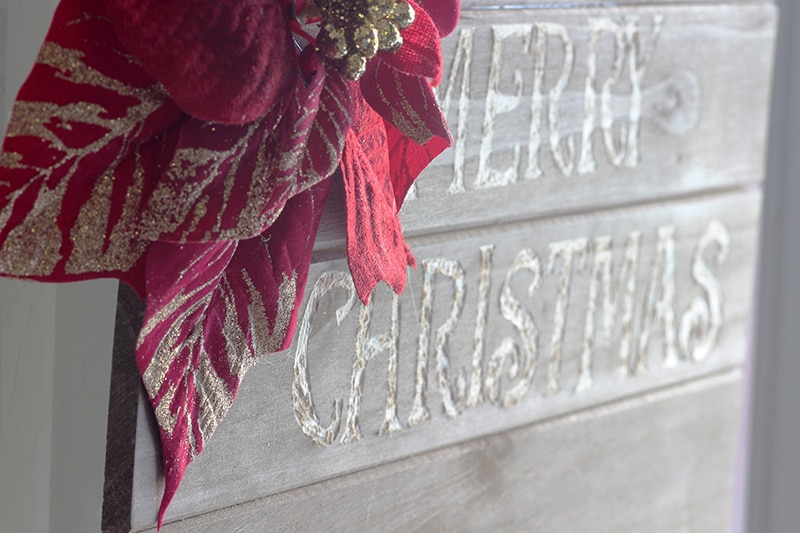
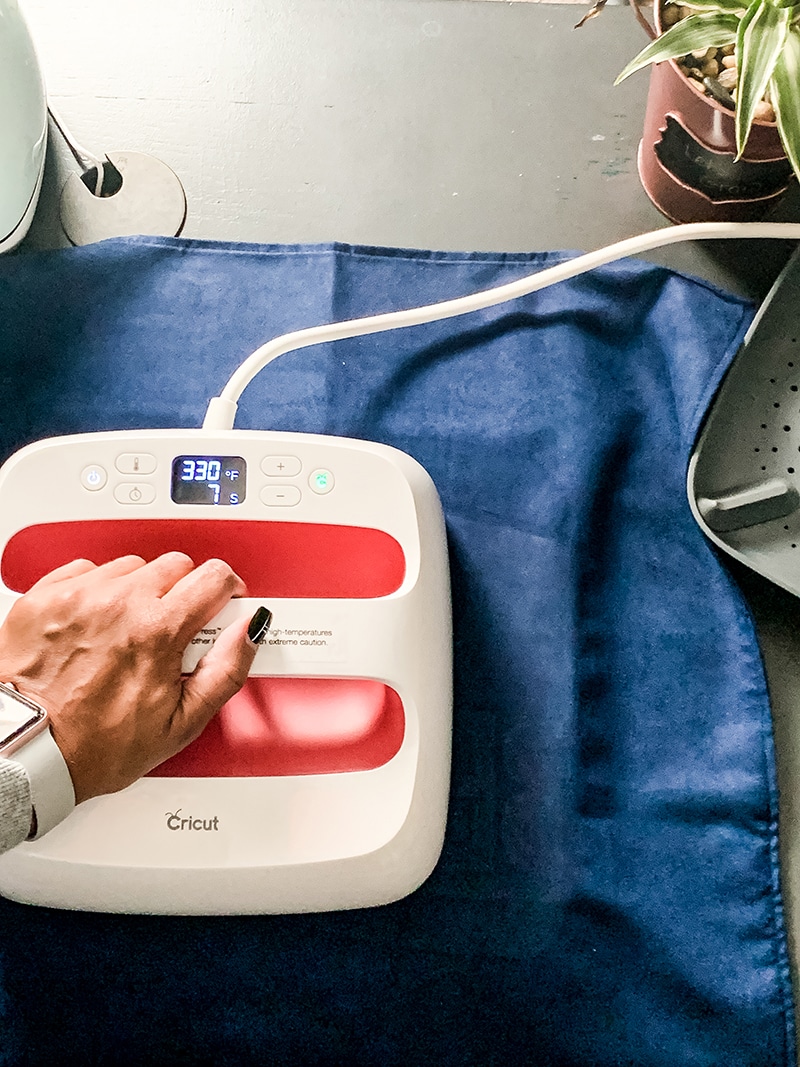
Check back later this week to see how I personalized it with a cute saying on the front using my Cricut Joy.
One imperfection with the box is that one of the ends is almost too short.
Like it just made it.
Like JUST.
I can tell. From a distance, you can’t. But look at it here. And then forget that I told you it was there.
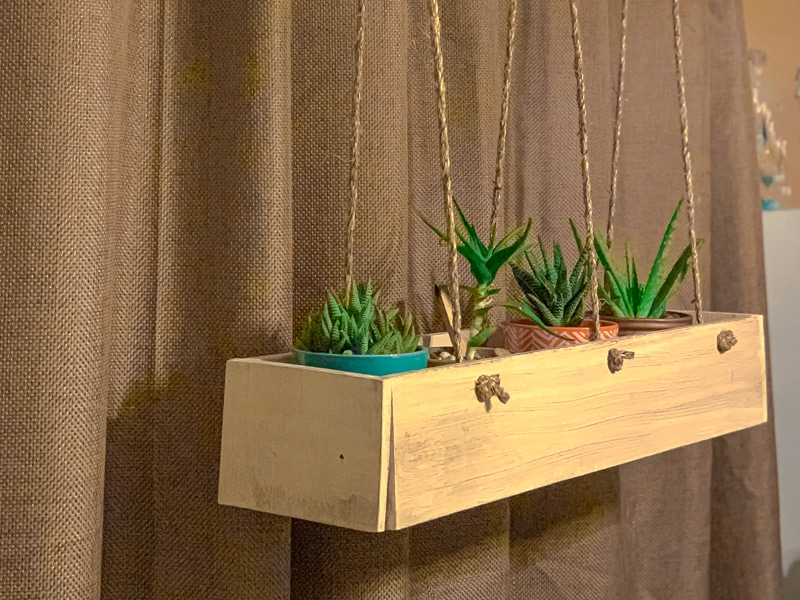
Now 4 of my plant babies have a home right in the path of the morning and afternoon sun to help them grow.
And it sits perfectly in the path of my grow light for when the sun is being shady and not coming around.
2 Comments